Author:Used Wholesale Manufacturer TIME:2026-11-02
A white opening in a black outsole is not enough to count missing rubber on used Adidas Adizero. First locate the opening, follow its edge, and compare the corresponding area on the other shoe with an exact-model reference. Otherwise, a buyer can count an intentional space as loss or overlook a worn edge beside a genuine opening. The useful record is a map of particular locations, not one verdict for every gap.

This photograph shows a repeated arrangement, not the cause or condition of every opening. Some boundaries are visible; others fall behind the foreground shoe or into shadow. Describe those limits before making a count.
ADIZERO lettering is visible in the supplied views, but a family name does not identify the exact model. Nor does a white patch identify the material beneath it. Start the inspection note with location and appearance: for example, a small light opening surrounded by black coverage, with one edge not clearly shown.
Ask for both undersides photographed flat, toes pointing in the same direction. Mark left and right and retain an uncropped view. Use three longitudinal zones, then specify the inner edge, center or outer edge within each. This avoids comparing the inside of one shoe with the outside of its mate.
Keep these location names unchanged when requesting close-ups. A note such as "right outer heel, beside the rear opening" is more useful than "bad sole."
The official adidas Adizero collection includes several different models. It cannot provide one universal outsole drawing, plate specification or coverage pattern for every shoe carrying the name.
Obtain readable identifiers for the offered pair, then find a reliable underside reference for that exact product. A side photograph or a newer model from the same family is insufficient. If the product identity remains uncertain, retain the location map but postpone conclusions about which spaces were present originally.
Check the reference's orientation too. Match toe to toe and inner edge to inner edge before comparing the shapes. Save the reference with its model identification so another person can reproduce the comparison.

Follow the visible black boundary around one opening, then compare that same boundary in the exact-model reference. Does it occupy the corresponding position? Can you see an uninterrupted edge, or does the image show an irregular extension, a lifted margin or a missing section beside the opening?
Regular spacing is a reason to compare, not permission to label every gap factory-made. Likewise, an irregular-looking boundary deserves a closer view before it is called detached rubber. Shadow, overlap and viewing angle can conceal the edge that would answer the question.
When the reference supports an original opening but the surrounding coverage differs, record both findings. Assess the differing edge before naming its cause. If wear is then confirmed, it can coexist with the original opening; the two findings remain separate.
Once the original layout is supported, compare corresponding left and right zones for changes in outline and surface appearance. Request equivalent camera angles and lighting. A shallow angle on one heel and a straight underside view of the other cannot support a reliable edge comparison.
Paired boundary patterns help locate a question, not answer every cause. Similar changes on both shoes may still need assessment; a difference on one side does not establish a defect by itself. Keep the observation specific, such as a wider irregular exposed area at one outer heel, and request a close view of that boundary.

Keep the result local to the examined area. The table translates different comparisons into different next actions without forcing the whole outsole into a single design-or-damage category.
| Zone comparison | Boundary finding | Record and next action |
|---|---|---|
| Exact reference and mate show the corresponding opening | Visible outline agrees; no extension seen in that view | Record a reference-matched opening; do not count the opening itself as lost rubber. |
| Opening matches, neighboring coverage differs | One margin looks irregular or reduced | Separate the opening from adjacent suspected loss; request a close-up of that margin. |
| Reference shows coverage where the offered shoe exposes a wider area | A discontinuity is visible at the corresponding zone | Record suspected local loss and seek physical confirmation before grading that area. |
| Mate, exact reference or edge view is missing | Comparison remains incomplete | Leave the zone unclassified; request the missing underside or reference. |
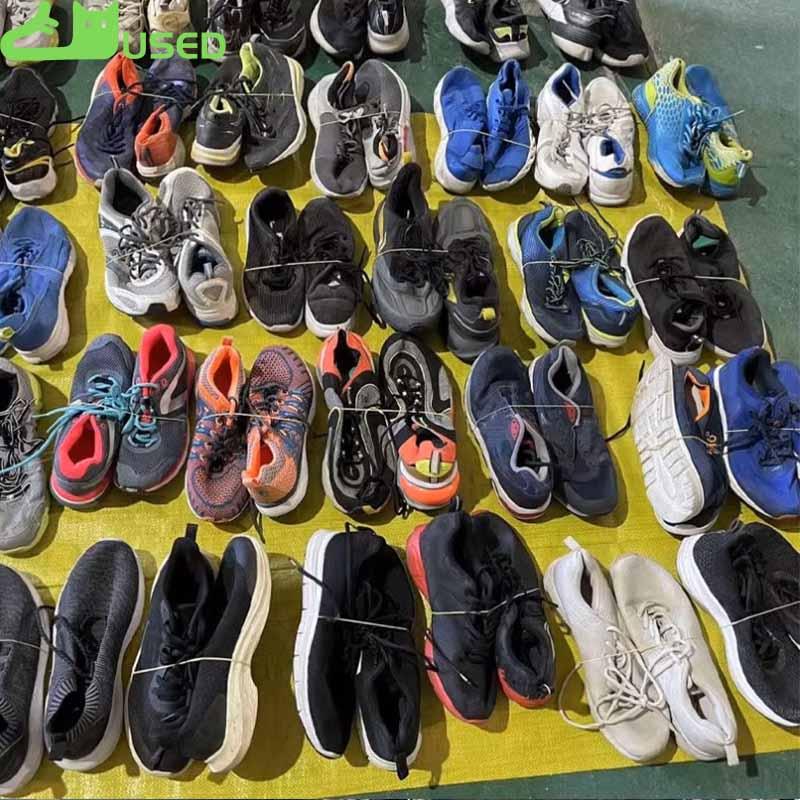
Among used Adidas shoes for sale, keep the mapped pair distinct from other models. An assortment photograph of used sneakers cannot fill a missing heel close-up. Do not turn the resulting map into remaining-mileage, traction or racing-performance estimates.
No. Their arrangement helps select a reference, but each questioned boundary still needs comparison with the exact product and the corresponding mate zone.
Not to establish original coverage. Request the exact model's underside; different models within the family do not share one guaranteed outsole specification.
No. Both shoes can share wear. Compare the original layout first, then record changes in the same locations on each mate.
A direct underside view plus a close oblique view of that heel, identified as left or right. Keep the full-pair view for orientation.
For second hand sneakers with interrupted outsole coverage, settle one location at a time: exact-model layout, visible boundary, corresponding mate zone. Count rubber loss only where the comparison and inspection support it. Leave obscured areas open and request the specific view needed, rather than filling the gaps with a family-wide assumption.

Direct Factory Supplier of Used Shoes For African Markets In China
 Tel: +8618606960861
 Email: info@usedshoeswholesale.com
 MP/WhatsApp: +8618606960861
 Manufacturer Address:Cizao Town, Jinjiang City, Quanzhou City, Fujian Province